

![]()
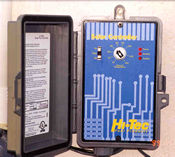
This site presents the system controller, sensors, and ancillary valves.
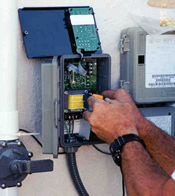 |
The installer then installs the "brains" of the system, the differential controller. The controller and associated sensors determine when there is heat to be captured in the collectors. |
 |
The installer presets the on and off temperatures of the controller. Once this is done, the controller operates automatically. When there is heat to be gained at the collectors, the controller activates the flow diverter valve to direct water to the solar collectors. |
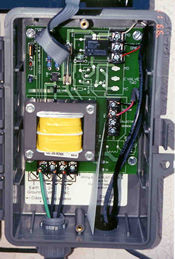 |
As illustrated by this photograph, the controller is an electronic device made of of various circuit boards and other electrical components. Not all solar pool heating systems use a differential controller. In that case, the homeowner manually regulates system valves to feed pool water to the collectors. |
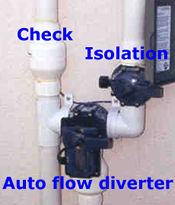 |
This illustration shows the three major valves used in the system. The check valve allows water to flow in only one direction. The isolation valve is used to isolate the collector loop. The auto flow diverter is used by the controller to divert flow to the collectors. |
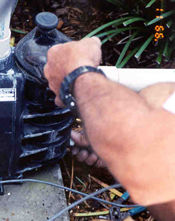 |
Sensors provide the controller with information regarding the temperatures at the collectors (high temperature sensor) and of the pool water (low temperature sensor). This information is processed by the controller and determines solar system operation. The encapsulated low temperature sensor is being installed in the drain plug of the pump basket, where it will measure pool water temperature. |
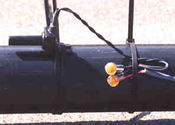 |
The high temperature sensor is mounted externally alongside a collector panel. This sensor is mounted in a plastic housing that has an absorptivity for solar energy approximating that of the solar panels. |
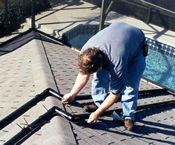 |
Once the sensors are attached, the installer then runs the sensor's wiring from the sensor to the controller. In doing this, the installer makes sure that the wiring is secured to the piping run. |
© 2007-2014 University of Central Florida. The Florida Solar Energy Center (FSEC)
is a research institute of the
University of Central Florida.
For more information about FSEC, please contact us or learn more about us.
Find us on Facebook!